What is N8N?
N8N is a free, open-source workflow automation tool that helps you connect the dots between your data and your services. It’s like a super-powered version of Zapier, but with a focus on simplicity and ease of use. N8N is built on top of Node.js and can be extended with custom code.
Why use N8N?
N8N is a great tool for automating repetitive tasks and streamlining workflows. It can help you save time and reduce errors by automating tasks like data collection, data cleaning, and data transformation. N8N can also help you automate tasks that involve multiple services, such as sending emails, creating calendar events, and creating Google Sheets documents.
Getting Started: Cloud vs. Self-Hosting
Before you can build anything, you need to decide where to run it. You have two main options:
- N8N Cloud: This is the easiest way to start. It’s the official managed service, so you can just sign up and start building workflows right away.
- Self-Hosting: This is the free, open-source path. You host N8N yourself, which gives you full control and no cost for the software. The most popular way to do this is with Docker, and their setup guide is very straightforward. A platform like Render can be used to host the docker container, but requires a bit more setup, with environment variables and permissions.
The Core Concepts (How it Works)
The “how” is fairly simple. The main concepts you’ll interact with are:
- Nodes: Think of these as a single step in your workflow. You have Trigger nodes that kick things off (e.g., “On a schedule,” “When an email is received”). Then you have Action nodes that do something (e.g., “Send a Slack message,” “Add a row to Google Sheets,” “Run an AI prompt”).
- Credentials: This is how N8N securely connects to your other apps. You set up your Gmail, OpenAI, or Google Sheets credentials once, and N8N stores them to use in your nodes.
- Expressions: This is the key to making things dynamic. It’s how you pass data from one node to the next. You can visually drag data (like an email subject) from a previous node to a field in a new node. N8N automatically writes the expression, which uses JavaScript syntax (like
{{ $json.subject }}) for you.
Tutorial: My AI Email Summarizer Workflow
My first N8N workflow was a simple one that collected all of my emails from my Gmail account that were sent in the past 24 hours, and then passed through an LLM to summarize the content of each email. These summaries were then sent to a simple dashboard webpage that I had made, which displayed the summaries in an easily readable format. This workflow ran every day and the hardest part about setting it up was configuring my credentials, and the format of the summaries.
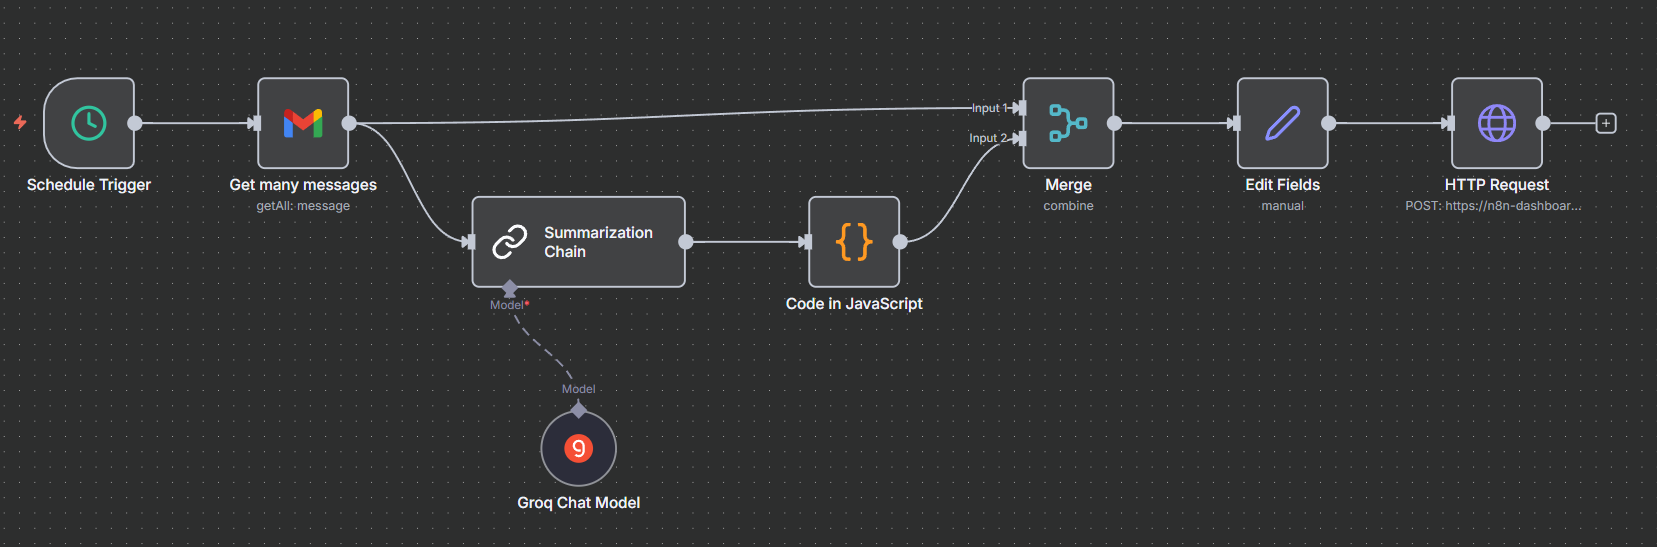
Let’s dig into the actual workflow I built. It’s a bit more complex, but also more powerful.
Here’s the play-by-play of how it works.
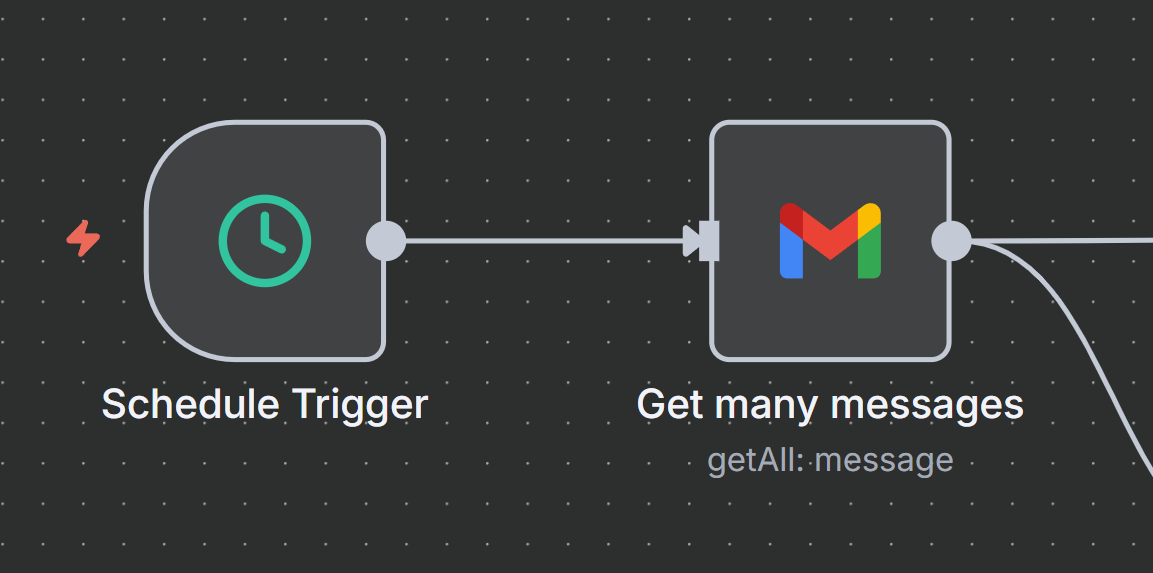
Step 1: The Trigger The workflow starts with a Schedule Trigger node. I set this to run every day at midnight in my timezone (GMT+5:30). N8N executes this and stores the trigger’s runtime as a standard UTC timestamp, which the next nodes will use.
Step 2: Get the Mail The trigger is connected to a Gmail - Get Many Messages node. This is where the timezone logic comes in. The node takes the UTC timestamp from the trigger and uses an expression to filter emails received after that time minus 18.5 hours.
This might seem like a random number, but it’s intentional. I’m in GMT+5:30, so to get emails from the “past 24 hours” relative to my timezone, I need to offset from UTC. The math works out to -24 + 5.5 = -18.5 hours.
This node is configured to grab all messages from the last 18.5 hours (to match this logic) that are in my “CATEGORY_UPDATES” or “CATEGORY_PERSONAL” labels, because I want to focus on emails that are important to me.
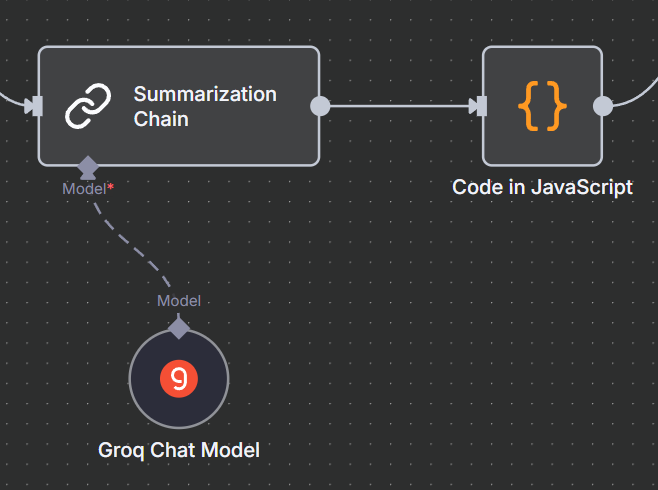
Step 3: The AI Magic (LangChain + Groq) This is the core of the workflow. The Gmail node branches, sending the email data to two places at once. We’ll follow the AI path first.
I use a Summarization Chain node (which is one of N8N’s LangChain nodes). This node is fed by a Groq Chat Model node. I chose Groq because it’s got a generous free tier, and I’m using the llama-4-maverick model, which has a high context window and can handle many tokens per second.
The key is the specific prompt I feed the Summarization Chain. I’m not just asking for a summary; I’m instructing it to be a data-analysis robot and return structured JSON.
Prompt:

You are a text analysis robot. Analyze the following email and provide your output in a JSON object format.

Instructions:

Read the entire email, but focus your analysis only on the newest message.

Ignore signatures, disclaimers, and reply chains.

The JSON object must have the following keys:

summary: A concise 1-2 sentence summary of the email.

sentiment: Classify the sender's tone. The value MUST be one of: "positive", "negative", or "neutral".

importance: Classify the email's urgency and business impact. The value MUST be one of: "low", "medium", or "high".

action_items: An array of strings. Each string is a specific action item, question, or deadline. If there are none, return an empty array [].

key_question: The single most important question the sender is asking. If no question is present, use null.

Provide only the JSON object and nothing else.

Your response MUST be a valid JSON object. Do not include ```json, ```, or any other text, explanations, or formatting outside of the JSON curly braces.

Email: "{text}"
Step 4: Parsing the LLM’s Output This is a common step that can trip people up. The LLM returns a text string that looks like JSON, but it’s not a real JSON object that N8N can read.
This is where the Code node becomes essential. It runs a single line of JavaScript to fix this:
for (const item of $input.all()) {
  item.json = JSON.parse(item.json.output.text)
}

return $input.all();
All this does is take the text output from the LLM (which is at item.json.output.text) and run JSON.parse() on it, turning that string into a real, usable JSON object.

Step 5: Putting It All Together (Merge & Set)
Remember how the Gmail node branched? The other branch went straight to a Merge node. The output from our Code node (with the nice JSON) goes into the second input of that same Merge node.
The Merge node stitches them back together. Now I have one item per email that contains both the original email data (from, subject, date) and my new AI-generated data (summary, sentiment, etc.).
After that, an Edit Fields (Set) node just cleans everything up, giving me a final, flat JSON object with all the fields I care about.
Step 6: Sending the Data
Finally, with the clean data, the Edit Fields node sends the output to its destination. I use an HTTP Request node to POST the full JSON object to my custom dashboard’s API endpoint, which then displays it on a webpage.
And that’s it. A fully automated AI email triage system that runs every day.
Conclusion
N8N is an exceptionally powerful tool, especially if you’re a developer or a technical user who wants more control than other platforms offer. While it has a bit of a learning curve (like figuring out you need to JSON.parse an LLM’s output), its node-based system, low cost, and high flexibility make it a fantastic choice. Getting that first workflow running was a great “aha” moment, and now I’m always thinking about what I can automate next.